The Simple Way I Cleared My Blackheads With One Ingredient
If you want to clear blackheads easily, baking soda is your go-to solution. Just mix one tablespoon with water to create a paste, then apply it to your blackhead-prone areas. Gently massage for a minute before rinsing with lukewarm water. Aim for 2-3 uses per week for the best results. It’s simple, effective, and gentle on your skin. Stick around to discover more about proper usage and additional skincare tips that can enhance your routine!
The One Ingredient That Changed Everything
When it comes to tackling stubborn blackheads, one ingredient has proven to be a game changer for many: baking soda.
This versatile powder isn’t just for baking; it’s also effective for blackhead removal naturally.
Its mild exfoliating properties help unclog pores, while its alkaline nature balances your skin’s pH.
You’ll find that using baking soda can lead to clearer, smoother skin without harsh chemicals.
Plus, it’s inexpensive and easy to incorporate into your skincare routine.
Many people have discovered that using natural ingredients like baking soda can not only clear skin but also promote overall skin health.
If you’re tired of battling blackheads, give baking soda a try and see the remarkable difference it can make for your complexion!
How to Prepare the Ingredient
To tackle blackheads effectively, you need to choose the right ingredient carefully.
Once you’ve selected it, preparing it properly is key to maximizing its benefits for your skin.
Let’s break down the essential steps to ensure you’re set up for success! Additionally, using effective tricks can significantly enhance your blackhead removal process.
Choosing the Right Ingredient
Ever wondered which single ingredient can effectively tackle blackheads?
Look no further than baking soda.
This versatile powerhouse exfoliates your skin, unclogs pores, and balances pH levels.
It’s affordable and easily accessible, making it a perfect choice for anyone seeking a simple solution.
When choosing your ingredient, ensure it’s fresh and free from additives.
You want the purest form to maximize its benefits.
Avoid using excessive amounts, as moderation is key.
By selecting baking soda, you’re opting for a natural remedy that’s proven to work wonders.
Get ready to embrace clearer skin with this straightforward ingredient in your beauty routine!
Preparation Steps Explained
Now that you’ve chosen baking soda as your go-to ingredient for tackling blackheads, it’s time to prepare it for use.
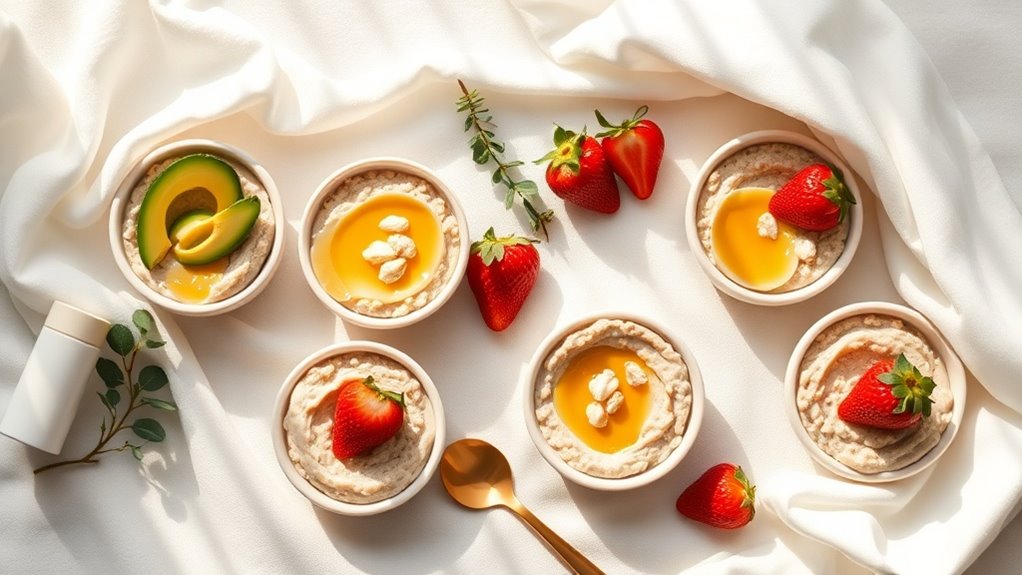
Start by mixing one tablespoon of baking soda with enough water to form a thick paste.
You want it to be spreadable but not too runny.
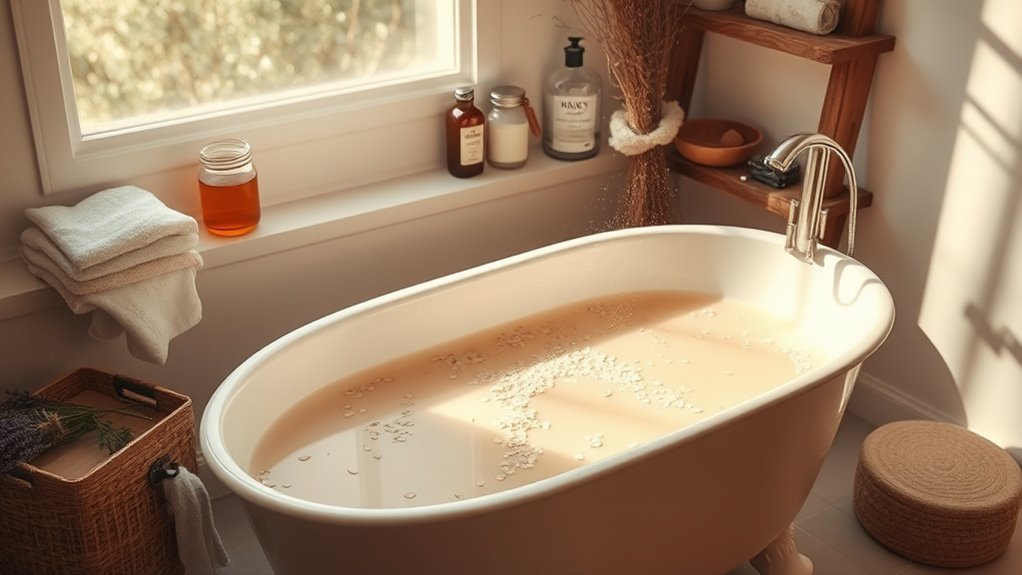
Once you’ve achieved the right consistency, cleanse your face to remove any dirt and oils.
Then, apply the paste directly to the areas with blackheads, gently massaging it in for a minute.
Let it sit for 10 minutes, then rinse with warm water.
Voila! You’re ready to say goodbye to those pesky blackheads.
Step-by-Step Application Process
Clearing blackheads can be a straightforward process, and with just one ingredient, you can achieve noticeable results.
Start by applying a thin layer of the ingredient onto clean, dry skin, focusing on areas with blackheads. Gently massage it in circular motions for about a minute to help unclog pores. Leave it on for the recommended time—this allows the ingredient to penetrate deeply. This method aligns with the recommendation of using gentle techniques to ensure you don’t irritate your skin.
Rinse thoroughly with lukewarm water, pat your skin dry, and follow up with a gentle moisturizer.
You’ll feel your skin refreshing and look forward to the clearer complexion that follows. Consistency is key, so stick with it!
Frequency of Use for Best Results
To achieve the best results in clearing blackheads, it’s important to consider how often you use this one-ingredient treatment. Aim to apply it two to three times a week, depending on your skin’s sensitivity.
This frequency allows the ingredient to work effectively without overwhelming your skin. If you notice irritation, scale back to once a week and gradually increase as your skin adjusts. Additionally, incorporating effective, all-natural methods can enhance your skincare routine for clearer skin.
Consistency is key, so stick to your routine for at least a month to see noticeable results. With patience and the right frequency, you’ll be on your way to clearer, smoother skin in no time!
Additional Tips for Skincare Routine
Regularly incorporating a few additional tips into your skincare routine can significantly enhance the effectiveness of your blackhead treatment.
Start by cleansing your face twice daily to remove dirt and excess oil. Exfoliate weekly to slough off dead skin cells that can clog pores. Don’t forget to moisturize; even oily skin needs hydration to maintain balance.
Additionally, consider using a clay mask once a week to draw out impurities, as natural remedies can dramatically improve your skin overnight.
Lastly, stay hydrated and maintain a balanced diet—what you put inside your body reflects on your skin.
With these simple steps, you’ll boost your skincare game and enjoy clearer, healthier skin.
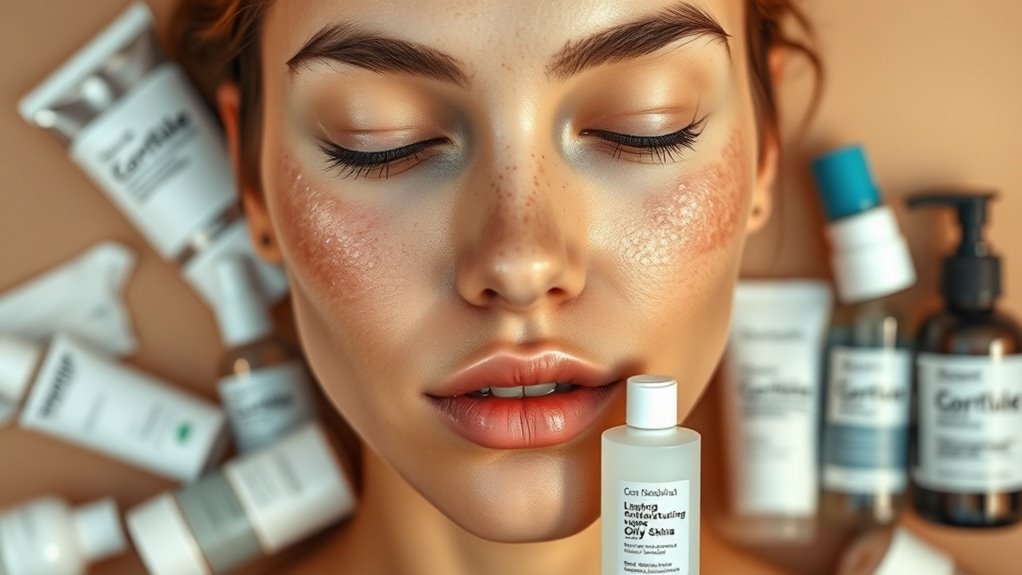
My Personal Experience and Results
When I started my journey to clear blackheads, choosing the right ingredient was crucial.
I’ll share the application method I found most effective and the visible results that amazed me. Moreover, I discovered that a consistent 2-minute routine using readily available ingredients can significantly improve skin texture and clarity.
You won’t believe how simple it can be to achieve clearer skin!
Ingredient Selection Process
Have you ever wondered which single ingredient can effectively tackle those pesky blackheads?
After experimenting with countless products, I discovered that the right choice can make all the difference.
For me, it was simple: I focused on an ingredient known for its deep-cleansing properties.
Researching its benefits, I read numerous testimonials and scientific studies that highlighted its ability to unclog pores and reduce excess oil.
By choosing this powerhouse ingredient, you set yourself up for success.
It’s crucial to pick something that suits your skin type, ensuring optimal results.
Trust me, the right ingredient will transform your blackhead battle!
Application Method Explained
The application method I discovered was a game changer in my fight against blackheads.
First, cleanse your face to remove any dirt or oil. Then, take a small amount of the chosen ingredient and gently massage it onto the affected areas for about five minutes. This helps to loosen the blackheads without irritating your skin. Afterward, rinse with warm water and pat dry.
I recommend using this method twice a week for optimal results.
You’ll notice how easy it’s to incorporate into your routine, making blackhead removal simple and effective. Trust me, your skin will thank you!
Visible Results Achieved
Seeing the transformation in my skin was nothing short of astonishing.
After just a few uses of this single ingredient, my blackheads began to diminish. You’ll notice a visible difference within days—pores appear tighter, and your skin feels smoother.
I couldn’t believe how effective it was; the ingredient penetrates deeply, drawing out impurities effortlessly.
Friends even started to compliment my clearer complexion!
Consistency is key; stick with it, and you’ll be amazed at the results.
If you want to banish those stubborn blackheads, this simple solution could be your game-changer.
Trust me, you won’t regret it!