The DIY Nail Soak That Fixed My Brittle Tips
Picture your nails like fragile leaves, easily bent and torn by the slightest breeze. If you’ve struggled with brittle nails, you know how frustrating it can be to keep them looking their best. After trying countless products with little success, I finally discovered a simple DIY nail soak that turned everything around. Curious about how this easy remedy can transform your tips? Let’s explore the ingredients and techniques that made all the difference.
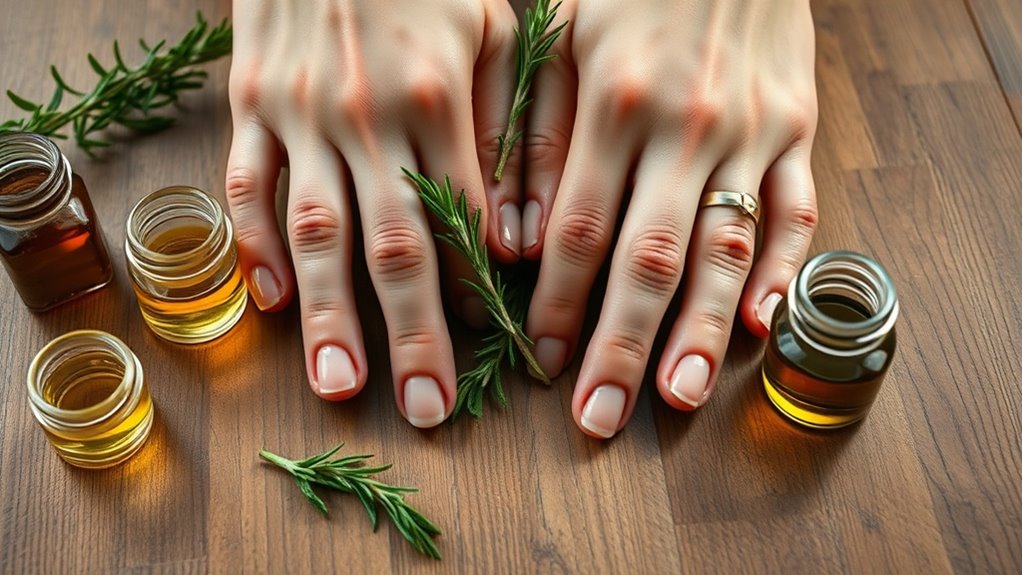
Understanding Brittle Nails
When you notice your nails chipping or breaking easily, it can be frustrating and might leave you wondering why they’re so brittle. Brittleness often stems from a lack of moisture, excessive exposure to harsh chemicals, or nutrient deficiencies. Luckily, incorporating a nail soak using natural ingredients can help restore their strength and shine, making your nails healthier and resilient. Additionally, regularly using protective nail treatments can further enhance your nails’ durability and appearance.
Ingredients for the Perfect Nail Soak
To combat brittle nails and start restoring their health, creating the right nail soak can work wonders.
Here are some essential ingredients you’ll want to include:
- Warm water (to promote absorption)
- Olive oil (for hydration)
- Apple cider vinegar (to strengthen)
- Essential oils (like lavender for extra nourishment)
- Honey (for its natural healing properties)
Mix these, and you’ll be on your way to healthier nails!
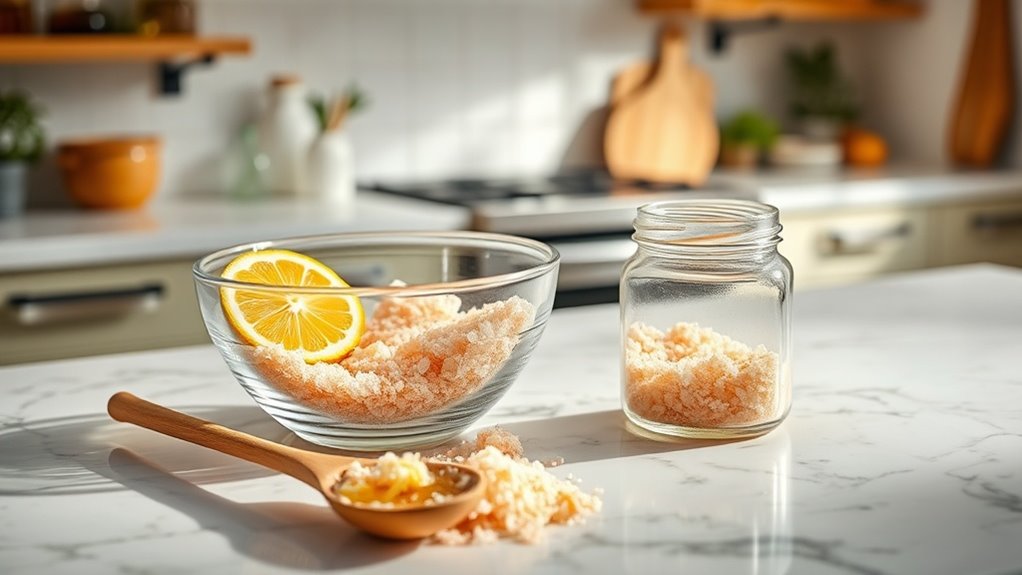
Step-by-Step DIY Nail Soak Recipe
Ready to pamper your nails?
Begin by mixing one cup of warm water with two tablespoons of olive oil and a splash of lemon juice in a bowl. Stir it well.
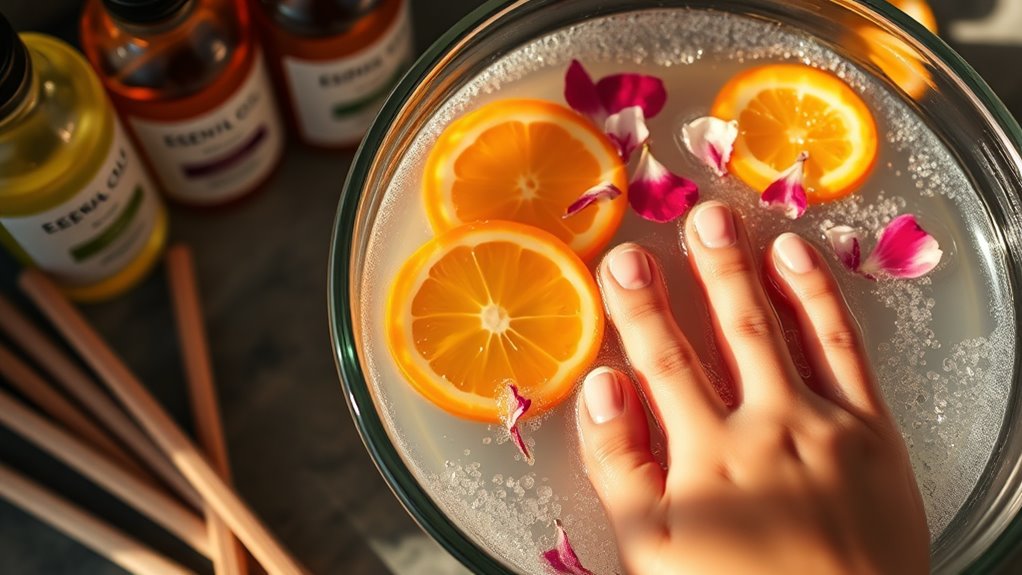
Dip your fingertips into the soak for about 10-15 minutes, letting the nourishing ingredients work their magic.
Finally, pat your nails dry, and get ready to enjoy healthier, stronger tips!
Application Techniques for Best Results
While you might think soaking your nails is a simple task, applying it with the right techniques can make a world of difference in your results.
Here are some tips to maximize your DIY nail soak experience:
-
Ensure your nails are clean and dry before soaking.
-
Use warm water for better absorption.
-
Soak for at least 10-15 minutes.
-
Gently massage your cuticles.
-
Pat your nails dry afterward.
Benefits of the Nail Soak
After mastering the right application techniques, you’ll quickly discover just how beneficial a nail soak can be. It not only strengthens your nails, but it also hydrates and revitalizes them. Check out these key benefits:
| Benefit | Description | Result |
|---|---|---|
| Strengthening | Nourishes and fortifies weak nails | Reduces breakage |
| Hydration | Moisturizes dry, brittle tips | Improves nail texture |
| Revitalization | Rejuvenates fading colors | Restores shine |
| Relaxation | Provides a soothing at-home spa feel | Enhances self-care routine |
| Nourishment | Supplies essential oils and vitamins | Promotes healthy growth |
Maintaining Healthy Nails After Treatment
Maintaining healthy nails after your nail soak treatment is essential for prolonging the benefits you’ve just experienced.
To keep your nails looking great, try these tips:
- Hydrate daily with cuticle oil.
- Avoid harsh chemicals in soaps.
- Trim regularly to prevent breaks.
- Eat a balanced diet rich in vitamins.
- Take breaks from polish to let nails breathe.
Your nails will thank you!